Export
Saving to .omr file
From the input image, the Audiveris OMR engine has gradually built specific information that we collectively refer to as “OMR data”.
The reference chapter on .omr files describes thoroughly how this OMR data is organized. For now, it is enough to know that we can save (and reload) this OMR information to/from disk (into a .omr file).
Saving can be done via the pull-down menu Book → Save book or via the Ctrl+S shortcut (Command+S for macOS):
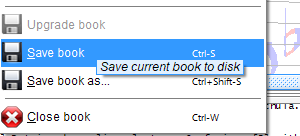
In our “chula” example, this will result in a chula.omr file.
Saving the OMR job is not strictly necessary for our very small example.
It is important to know that Audiveris can always restart from a saved .omr file, even from very old files, which allows to resume processing and user editing where they were stopped.
For sizable OMR jobs, this capability is essential.
Exporting to .mxl file
Right now, we are focused only on how to feed a music sequencer with music data it can easily import. And as of this writing, this is achieved by going through the de facto standard of MusicXML-formatted data.
This can be done via the pull-down menu Book → Export book:
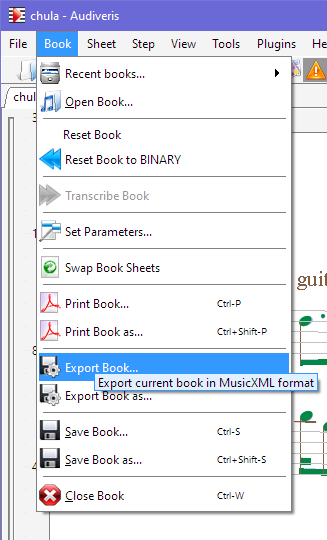
From our “chula” example, this command produces a file named chula.mxl (the .mxl extension indicates a compressed MusicXML format).
Output location
Starting with the 5.4 release, the default policy is to put any output file next to the input file.
This default policy can be changed via the Preferences dialog.
We can also use the “Save book as” or the “Export book as” menu items to choose a specific output location and name.
.omr files vs. .mxl files
These files are not equivalent.
The export from OMR to MusicXML is lossy, since a large amount of OMR information can’t go into MusicXML.
A .omr file can always be used to regenerate the .mxl export, but the reverse is not true.
A good advice is to keep these .omr files – unless we are running out of disk space! :-) – because they represent a valuable source of OMR information, suitable for training newer versions of Audiveris (more on this later).